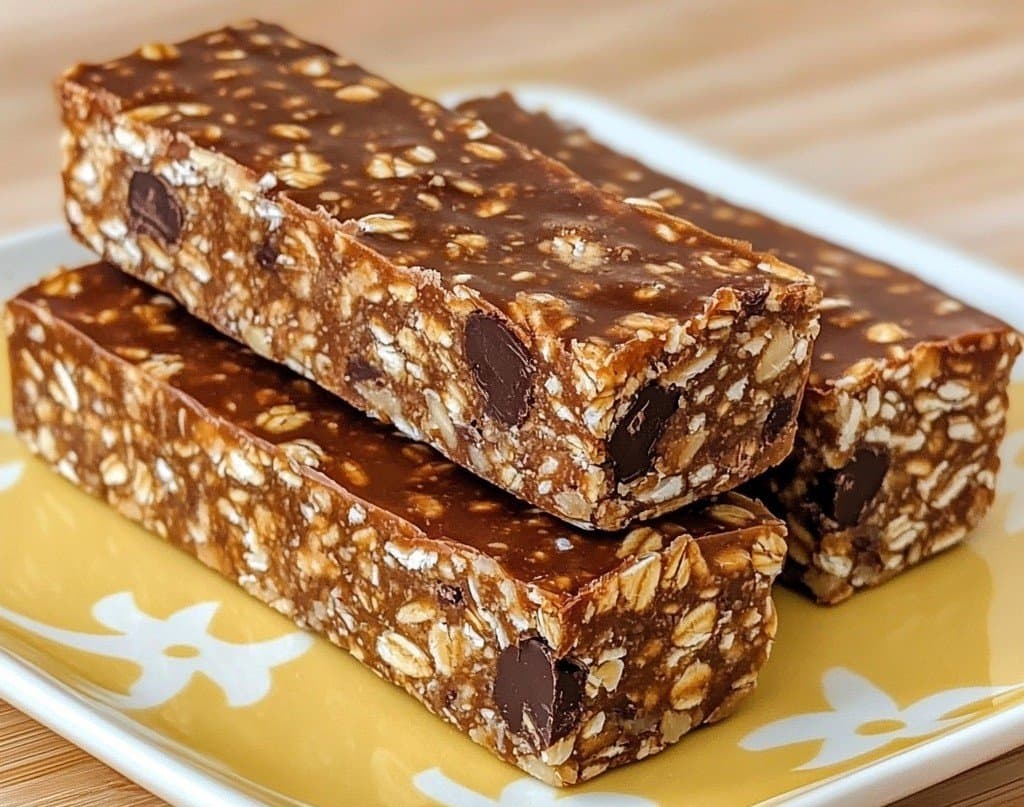
Oat Chocolate Energy Bars
Prepare homemade energy bars in no time, perfect for a quick snack or a boost of energy. This recipe combines the crunchy texture of oat flakes with the richness of dark chocolate and the smoothness of peanut butter. A healthy, tasty and easily customizable snack. Simply lightly toast the oat flakes for more flavor, then prepare a binding caramel with peanut butter, honey and butter. Coat the flakes with this caramel, add chocolate chips, then press everything into a mold. After a stint in the refrigerator, all you have to do is cut regular bars. These bars keep for a week in the fridge and freeze perfectly. You can also add dried fruits, nuts or coconut for variety. With just a few ingredients and a little patience during resting time, you'll get homemade energy bars that rival store-bought ones. Don't hesitate to take them with you everywhere for a healthy and gourmet snack.

Double Compartment 9L Air Fryer – 8-in-1
€69.99
Pros:
- Two independent baskets for simultaneous cooking
- Smart Finish technology for synchronized cooking end time
- Intuitive touchscreen with automatic programs
Con:
- Takes up more countertop space
- 1
Optional oat toasting: Spread the oat flakes in a dry pan over medium heat and toast for 5-7 minutes until golden and fragrant. Immediately transfer to a dish.
- 2
Binding caramel preparation: In a saucepan, heat the peanut butter, honey and butter over low heat until smooth and homogeneous. Remove from heat, add vanilla and salt.
- 3
Dough assembly: Pour the oat flakes (toasted or not) into the hot saucepan and mix until well coated. Let cool for 5 minutes.
- 4
Chocolate incorporation: Add most of the chocolate chips (reserving a few) and mix gently.
- 5
Bar shaping: Line a 20x15 cm mold with parchment paper, pour in the mixture and press firmly. Sprinkle the reserved chocolate chips on top.
- 6
Rest and solidification: Cover with plastic wrap and refrigerate for at least 1 hour.
- 7
Precise cutting: Unmold and cut into 6 bars using a sharp knife.
- Texture: Press firmly to prevent the bars from crumbling. Temperature: Let cool slightly before adding the chocolate. Mold: A standard brownie pan works perfectly. Storage: Wrap individually for easy consumption.
Join the Cuisine Délice community!
Join Cuisine Délice on Facebook, Instagram, and YouTube to discover our gourmet videos, cooking tips, and many other mouth-watering recipes in pictures!
Similar Recipes

Discover our easy and quick golden shrimp puff pastry recipe. A crispy and creamy appetizer, perfect for impressing your guests. Prep time: 20 min.
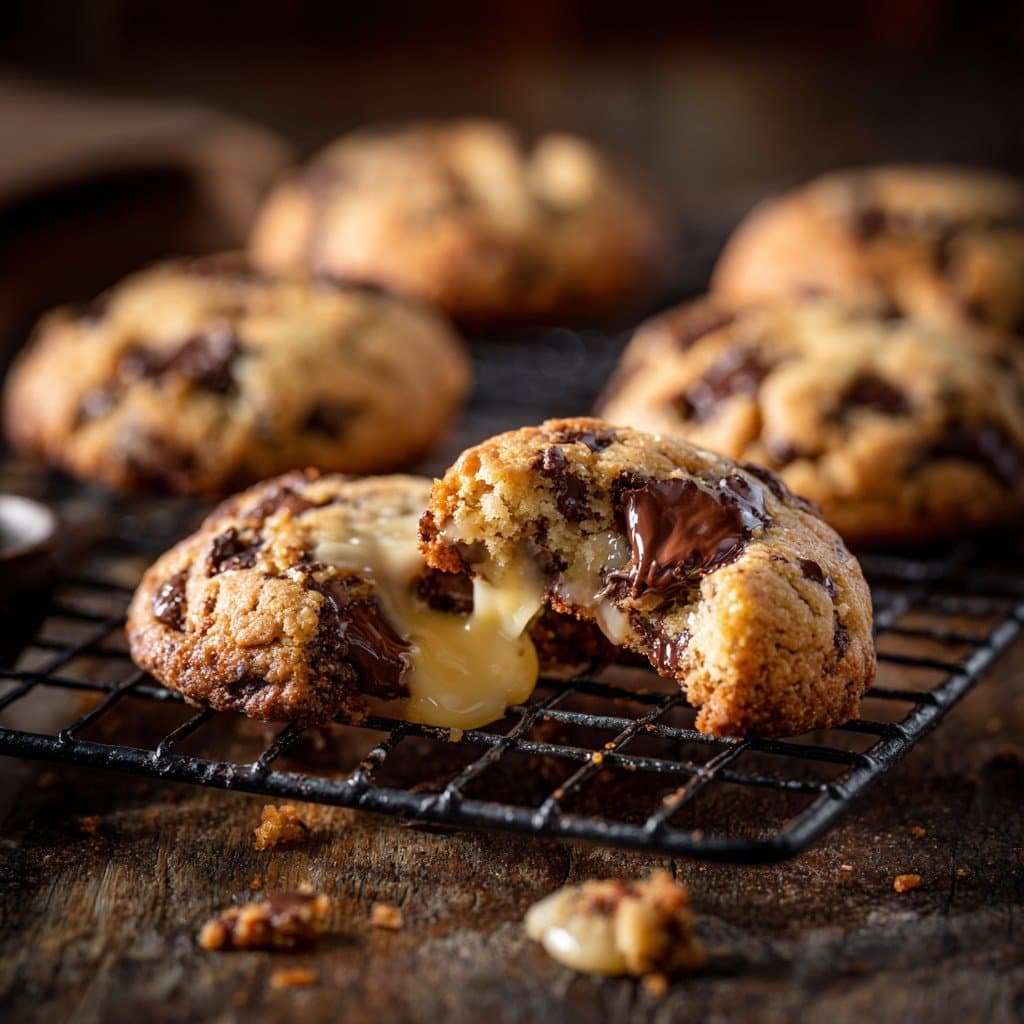
Recipe for soft chocolate chip cookies with Kiri cheese. Ready in 20 min, melting texture perfect for snacks. Tips for perfect biscuits.

Easy recipe for chicken, pesto and mozzarella panini. Ready in 15 minutes. Ideal for a quick, balanced and flavorful lunch. Discover our tips for a perfect result.